Intro: In this new project, I plan to finally put my Raspberry Pi to good use. Goals in this project include sending a weather balloon 100,000 feet into the atmosphere while recording telemetry and capturing some breathtaking video.
Theory: High altitude ballooning is a simple concept. Typically a latex balloon is inflated with helium gas – around to 1/5th of its capacity. The balloon is sized according the the weight of the payload, however, the fill capacity usually remains the same ratio. The balloon now full of helium provides enough lifting thrust to float up into the atmosphere usually at a rate of 5m/s. As the balloon rises, the atmospheric pressure reduces. This cases a pressure differential between the helium gas inside the balloon and the air outside. The two will attempt to equalize, which causes the balloon to expand. At its highest point the balloon will have expanded to about 25 feet around, from a 5 foot diameter back on the ground. Before long, the balloon will burst causing the contraption to fall back to earth. A parachute is installed to slow the decent of the balloon, protecting the valuable payload. Meanwhile the journey is logged with a bevy of sensors and GPS location tracking devices. Once back on the ground, operators used the GPS location history to track and locate the fallen package. Usually the balloon will take 2 hours to rise, and bout 1 hours to fall, making the total duration somewhere around the 3 hour mark.
If all goes well, we should see pictures like this!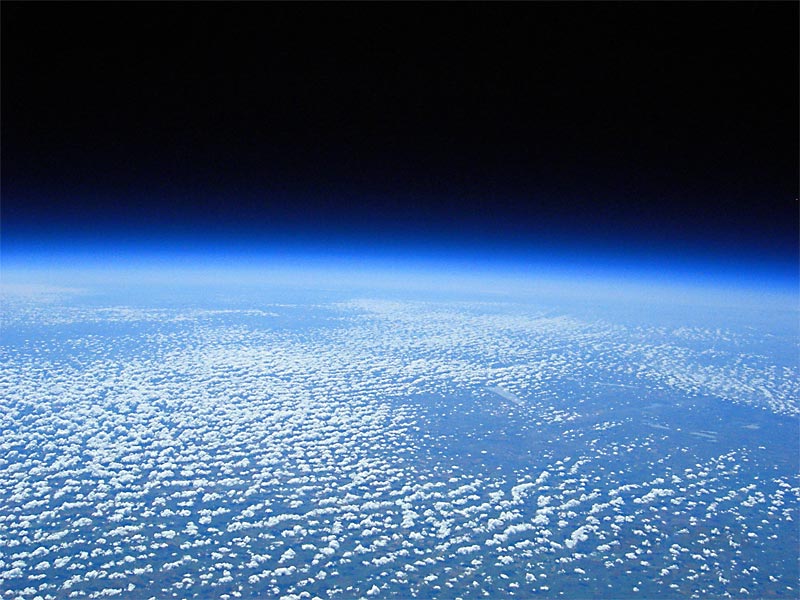
Flight Path Estimation:
The simplest method to estimating your flight path is to use the CUSF Landing Predictor software http://predict.habhub.org/. Just enter in the applicable information and you’re off to the races. In the below example, I launched from the Cross Iron mall, and landed somewhere near Drumheller. Typically the wind blows west to east, coming off the mountains and though the foot hills. This is good as I don’t want to trek through the mountains looking for the downed balloon. Keep in mind, the software is only a prediction, and will place you in the general area. Quality tracking gear is key here. 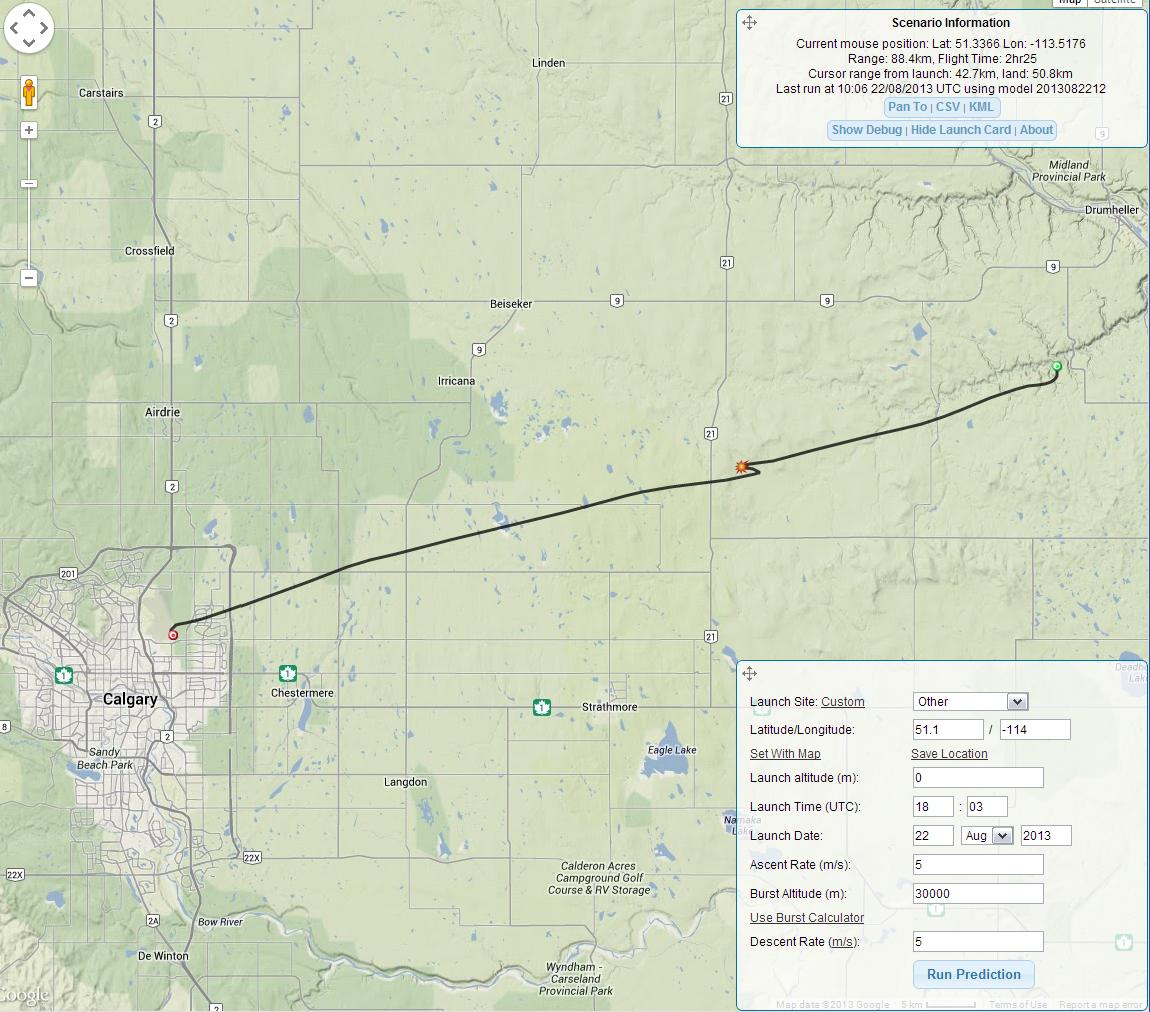
Payload Design:
The payload will be placed inside a buoyant container, and will be big enough to hold the below instrumentation. The electronics will be placed in close vicinity to each other to maximize residual heat absorption. The upper atmosphere can reach temperatures down to -50C, every bit of heat generated is valuable at these temperatures.
Parts Required:
Data logging, Telemetry, and Video:
Raspberry Pi – Will record altitude, temperature, and GPS location. Will also capture the event in 1080P video. The Pi will be powered from 6 AA energizer lithium batteries, really the only choice for a cheap low temperature battery. They are one of the only readily available batteries speced to operate down to -40C. I am using the model A for this project as its power consumption is about 400mA less than the model B (300mA vs. 700mA).
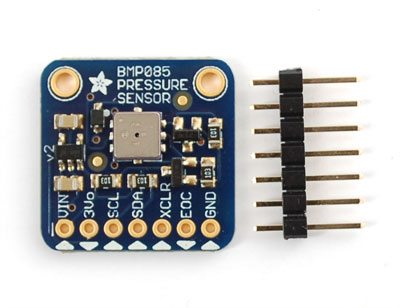 I will use the BMP085 Barometric Pressure / Temperature sensor to record the balloon’s altitude and atmosphere’s temperature. This guy can record temperatures down to -40C (which may actually not be low enough), and pressures down to 300hPa (which again probably isn’t enough).
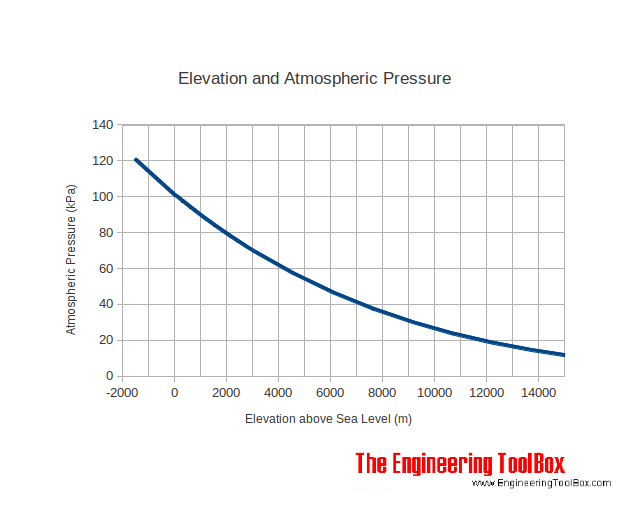
 The newly released Raspberry Pi camera will provide 1080P video coverage.
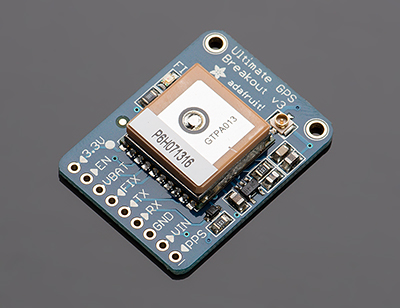 And the PA6H GPS module will provide location data. The module is good up until 88,000 feet. Side note – the FAA states consumer grade GPS modules must not operate above 60,000 feet and at speeds greater than 1,200mph. A deterrent for home grown guided missiles. The strategy here is to choose a GPS module that obeys the speed rule, but not the altitude rule.
Backup Location Tracking, Telemetry, and Photo:
Nexus one – Will record a time laps photo log of the event. Will also serve a backup GPS tracker and camera in the case the Raspberry Pi fails. The phone will be powered from its internal battery. The battery should last about 6 hours, plenty of time.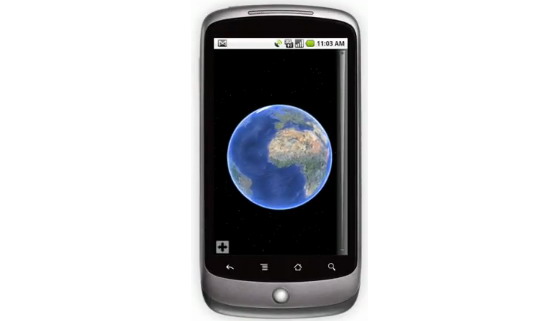
Location Tracking:
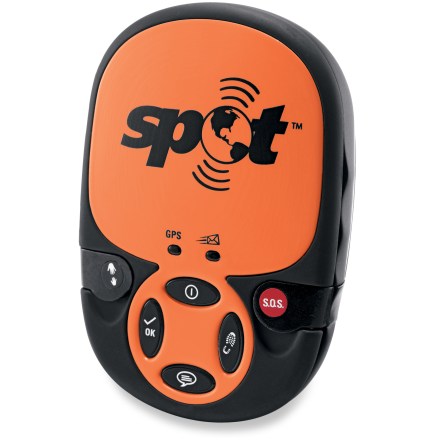
Two options here. a. use a dedicated GPS system such as the SPOT. This system communicates with the Russian constellation and will report its location once every 10 minutes to the manufactures web page. This system can be unreliable as the device has to be facing the sky for a GPS lock. If the balloon we to fall back to earth and land on its side, blocking the SPOT from the sky, all hope in locating the balloon would be lost.
Option b. is more complicated but is seen as a more reliable solution to locating the balloon once back on the ground. The APRS (automatic packet reporting system) derivative of HAM radio provides GPS coordinates to a network of armature radio station, which then post the received location data to an APRS website such as aprs.fi.
Lift and Decent:
Balloon – Kaymont is regarded as the top balloon manufacture, supplying balloons to NASA and the military. I will chose the HAB-600 for my maiden voyage. This balloon wont fly as high as the bigger models, and therefore wont travel as far, hopefully make the locating the package easier to locate. With a 2-3 lbs payload, the balloon should fly to about 75,000 feet before bursting at a diameter of 20 feet.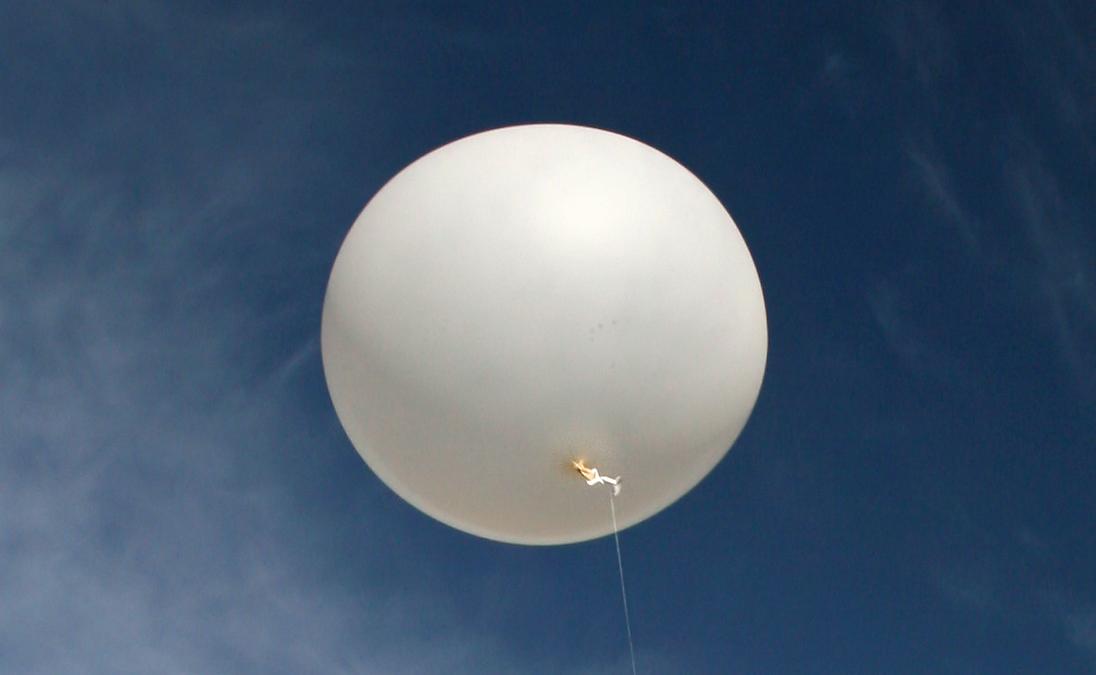
Parachute – TheRocketMan is regarded as the top parachute manufacture, supplying parachutes to most of the HAB (High Altitude Ballooning) community. With a payload between 2-3 lbs, the parachute should slow the the falling package to a decent rate of about 15ft/sec.