Now that the hardware is assembled, it’s time to dig into the configurations.
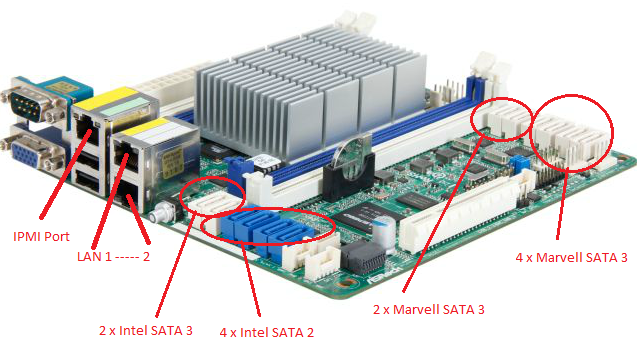
The most interesting aspect of this platform is that it supports the Intelligent Platform Management Interface (IPMI). The idea of IPMI is to remotely control the device. Accessing the boards BIOS, installing the OS, and viewing statistics can all be done remotely. This being my first experience with it, I was a little lost. But nothing to worry about. The board has a dedicated IPMI port, which gets assigned its own IP address. So, just hop onto another computer on the network and brows to the IMPI’s IP address. Finding the IP address can be tricky, but luckily for me my router has a nice feature to display connected devices on the network.
BIOS Configuration:
The motherboard’s BIOS can be configured from two places. The first being the native IPMI interface. The second from the BIOS’s GUI window. To access the IPMI interface, browse to the IPMI port’s IP address. From here you can configure settings or launch the remote console. The remote console runs a small java app to mimic a console. I had to turn the java security down to get my console to open. Once in the console, to launch the BIOS, restart the system and press the ‘del’ while booting. The system will now boot into BIOS. It is here where you configure the boot priority of the system. Because we’re booting from USB, choose USB as the #1 boot priority.
Operating System:
I chose FreeNAS as my operating system. Having an established development and support community, it’s a good safe choice. Another nice option it provides is the ability to run from a USB stick. From the FreeNAS webpage, you simply download the USB image, write the image to a USB stick, and boot the system from USB. Once running, the OS runs from RAM, so wear-n-tear on the stick shouldn’t be an issue.
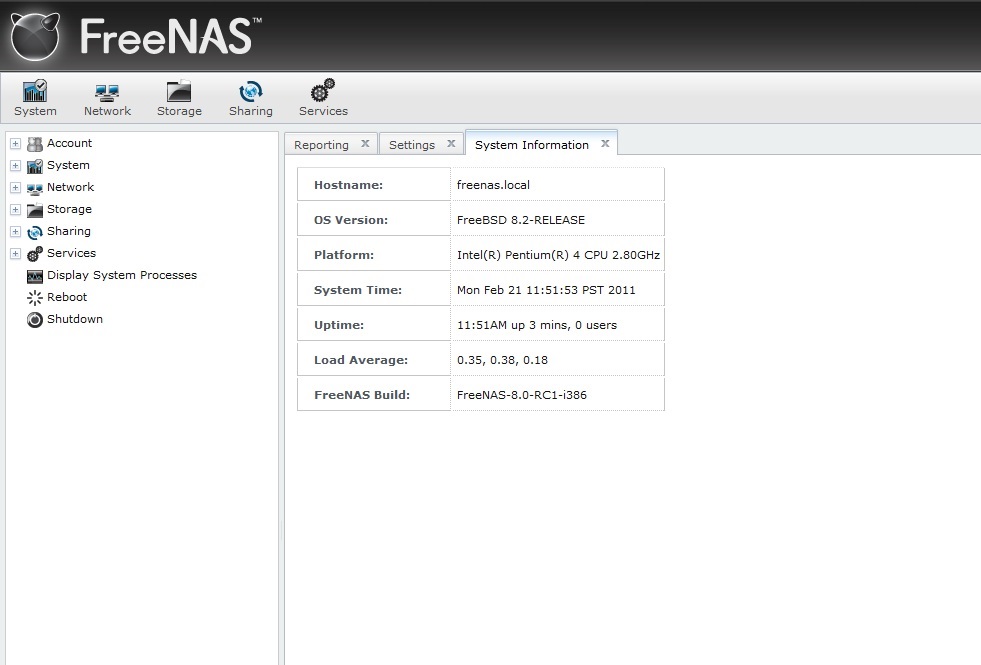
To install the OS, browse to the console window. Insert the USB stick into the motherboard, reboot the system, and wamooo. The system will boot from USB and into the FreeNAS environment. Once booted (mine took around 5 minutes) you may browse to the IP address of FreeNAS (note this is different than the IPMI’s IP address). FreeNAS is designed to controlled from a web based GUI, and does a really nice job at it. The following isn’t my image, but you get the idea.
Generally, you shouldn’t need to modify any settings. Basically, you’ll create a new storage pool, a new windows CIFS share, and modify permissions. At this point, you should be able to see the FreeNAS storage pool from any Windows computer on the network.
Total System Power Consumption:
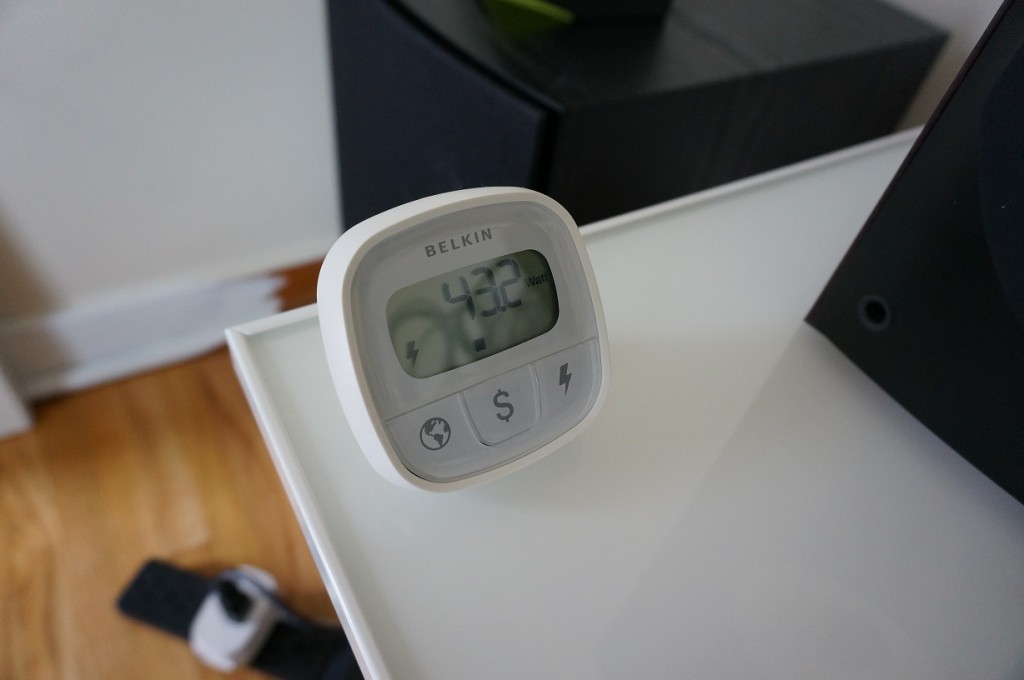
During boot, the system consumes around 80W. After settling down, the system draws a steady 43W. Documentation says the HDD’s consume about 15W each during boot, and 5W each once running. This leaves the CPU /motherboard/RAM at around 20W.


