The summer brings good things to the tech world. New stuff announced at CES (In January) finally starts hitting the shelves, and for those waiting 6 months, it couldn’t come any sooner. This year, I decided to upgrade my case and water cooling set-up. By default this meant that a new motherboard was also in store. Don’t you love it when you force your self into upgrading? I do!
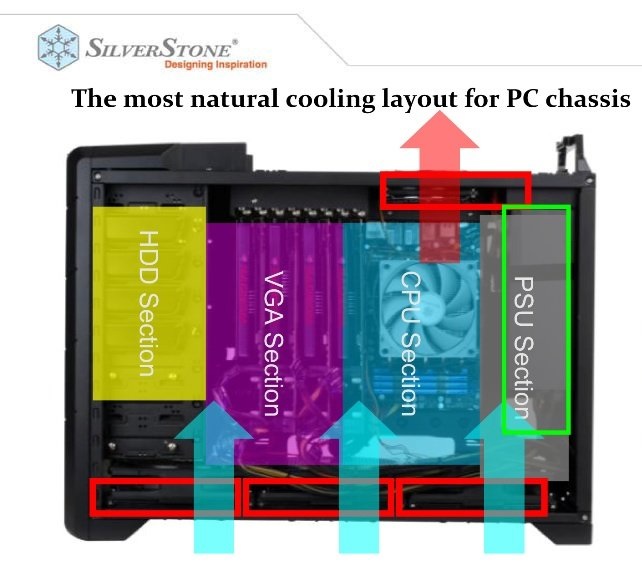
The new case is called, Raven, and is made by Silverstone. This is the their 5th iteration of the case. All (except one) have a 90 degree rotation on their motherboard mount, leaving the GPU hanging vertically from the top rather than laying flat. This, apparently, promotes the “hot air rises” effect and is intended to allow the air to move naturally bottom-to-top. That’s not the best part of the case though. The best part is the massive 180mm fans at the bottom of the case. There are two of these fans, and their job is the maintain the bottom-to-top air current in the case. A side effect of this is that they create a positive pressure inside the case as more air in entering than leaving. This helps repel dust from settling inside the case as air is always being forced out. Here’s a shot of the RV02 (which had three 180mm fans):
Historically, all raven cases have featured the 90 degree rotated motherboard and bottom mounted 180mm fans. My current build actually is with the 3rd iteration (call it the RV03) of the raven case. Why am I so excited about this new 5th iteration (RV05) though? Two main reasons. 1. The case has been shrunken down to it’s smallest ever size. By using some clever packaging, the case has moved from a medium sized tower to a small tower. This should free up some desk space and make the tower more portable. 2. The 180mm fans now feature some extra breathing room. i.e. The footprint of the case is slightly larger than that of the fans leaving a gap between the fans and the case.
Why is point 2 such a big deal to me? With the RV03 the fans sat flush against the case, and there were two of them for a footprint of 180mm x 360mm. The RV05 has a foot print of about 182mm x 410mm. An extra 2mm of space across and 50mm of space length wise.
I’ll leave this point for a second, but will circle back.
For water-coolers, finding the right case that allows them to mount as much radiator surface area as possible is tricky. Cases are mostly designed for heat-sink coolers and thus provide limited options for mounting radiators. Often a water-cooler will take one of these cases and mount multiple radiators, but this only adds to the complexity of the system as he now has to manage the extra plumbing and provide a pump big enough to move the water though the system.
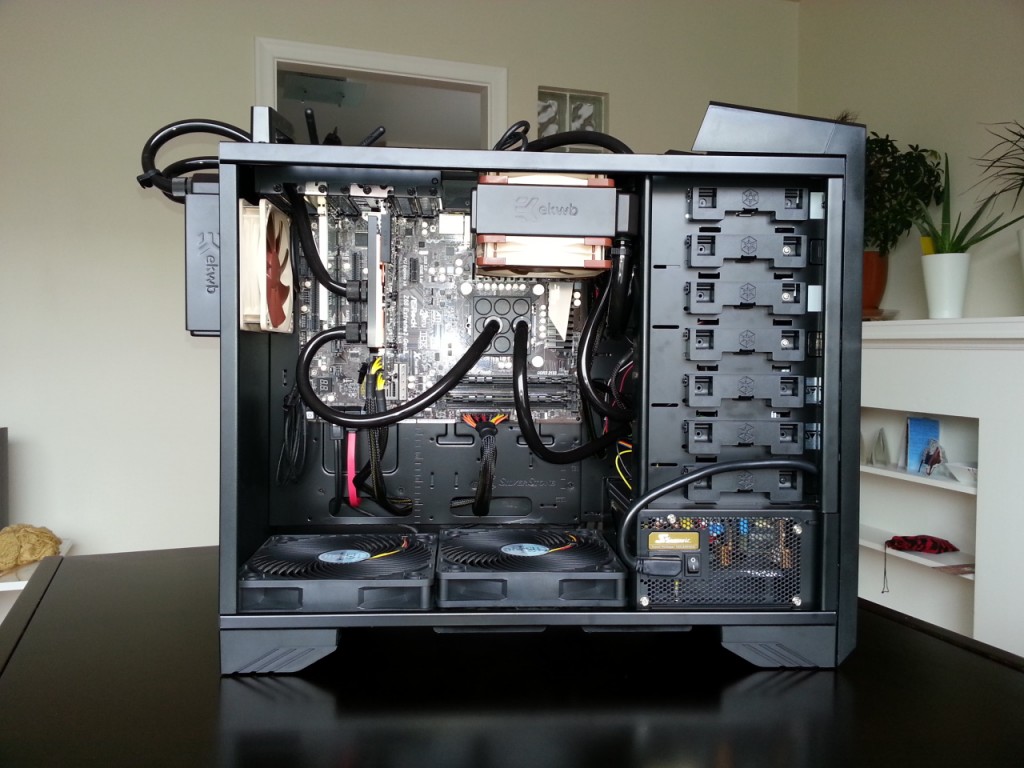
Here’s a shot at my first water cooling attempt in the RV03 case:
You can see how the case didn’t really provide good options for mounted a nice big radiator, so I mounted two, one in each ventilation hole. This configuration begun to show it’s weaknesses when I upgraded the processor and needed to dissipate more heat. The method I used to determine the effectiveness of the cooling system is basic, but worked. I looked at the water temperature, and tried to maintain it at 40C or less. The closer to room temperature the water, the better, as the bigger the temperature differential between the water and the components, the more efficient the heat transfer. I pretty much guessed at the radiator size for the above build and got away with it. Consider myself lucky. I think this setup had a dual core i3 CPU and a GTX-670 GPU.
Here was my second attempt at a cooling system:
The change to the cooling system was to replace the left most radiator with something bigger. I went with a 120mmx360mm sized radiator, replacing the 120mmx120mm. In theory this should have added double the cooling performance of the system as the radiator surface area doubled.
The first system having two 120mmx120mm radiators, each having a surface area of 14,400mm2, for a total of 28,800mm2. While the new system, with its one 120mmx120mm and one 120mmx360mm, has a total surface area of 57,600mm2.
In practice this I didn’t realize full potential of the system due two major pitfalls of it’s design. 1. The fans placed on the radiators take warm air form inside the case and blow it out through the radiators. Not ideal. Ideal would have fans blowing cool outside air over the radiators back into the case. But I didn’t want to cook the inside of the case so made a compromise. 2. The left most radiator only has one small 120mmx120mm opening, making the bottom 2/3’s of that radiator almost useless. It must have been doing a good enough job though, because the cooling performance did increase over the previous set-up. This system ran a quad core i5 and a GTC-770. Water temps never went above 40C.
Looking for more performance, the third attempt with this RV03 case saw the removal of the top most radiator and it’s replacement with a larger 140mmx280mm unit sitting on the bottom of the case.
With this radiator now in place, the total surface area of the cooling system increased from 57,600mm2 to a whopping 82,400mm2. Plus, the bottom radiator was pulling in cool air from outside the case and blowing it up out the top of the case. I saw the maximum water temps decrease by a couple of degrees. This config ran a quad core i5 and a GTX-780Ti.
This picture brings us back to a point made in the 3rd paragraph. Notice how this case has two 180mm fans mounted at the bottom, but notice how the case butts up right against them. The biggest radiator I was able to fit on top of them was the 140mmx280mm you see here. This is the beauty of the RV05 case. It’s gives the 180mm fans slightly more room than they require allowing users to mount a nice and big 180mmx360mm radiator.
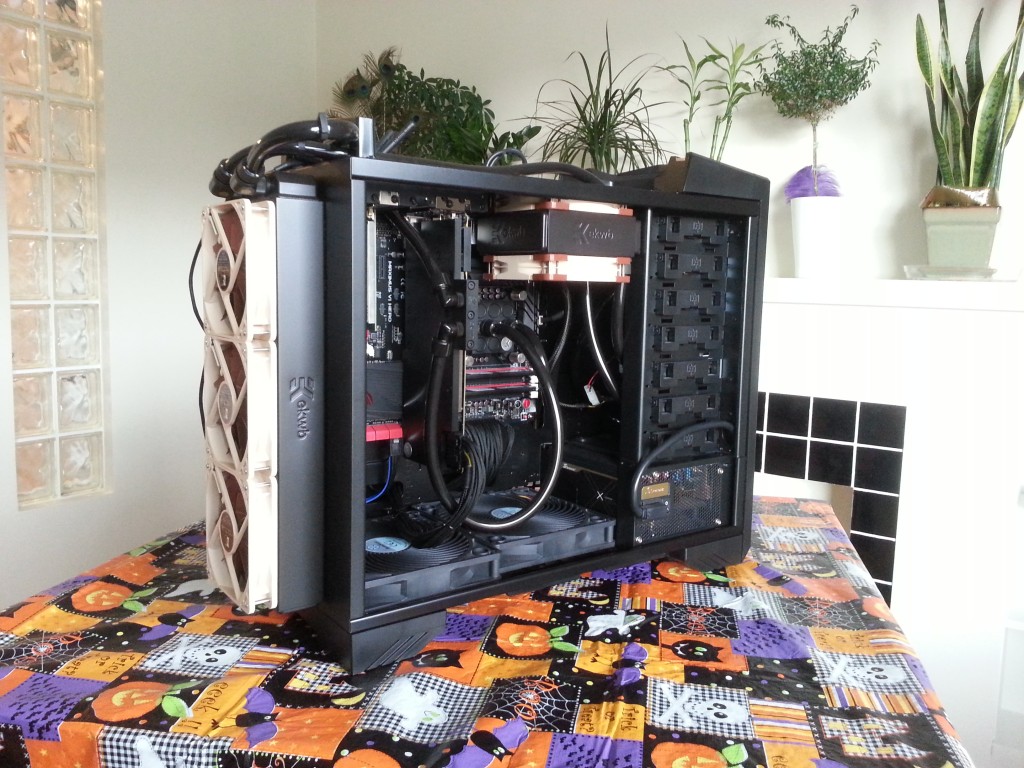
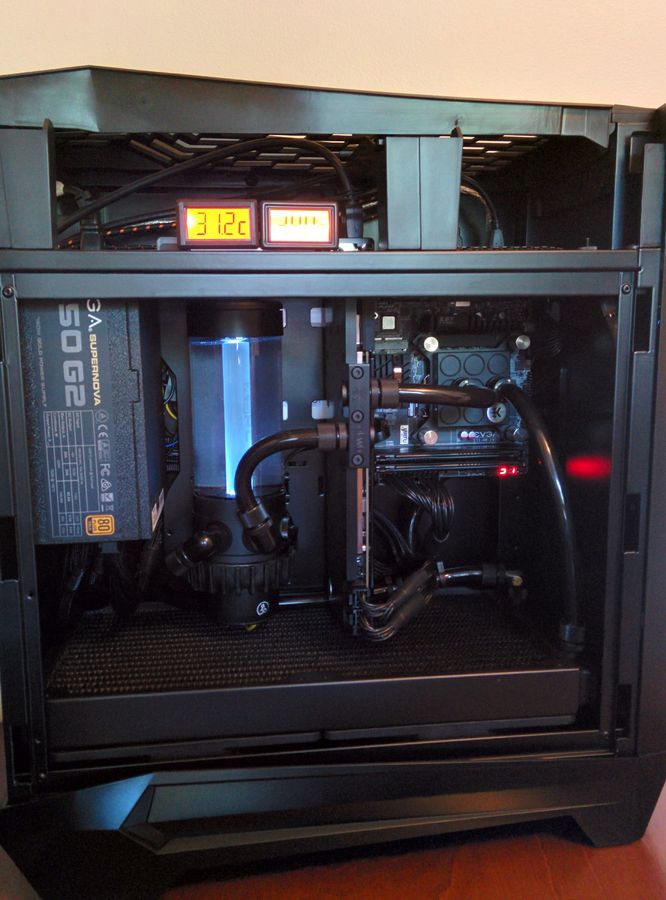
This is a shot from my build in progress with the new RV05 case:
Look at the size of that radiator! This gets me really excited. Surface area of this beast comes in at a meaty 64,800mm2. Sure, that’s less than the set-up it’s replacing, but this one takes all of it’s air from outside of the case, not the inside.
Using the same CPU and GPU as before, water temperatures stayed pretty much the same. High 30C’s under full load. This is in the summer mind you where my house heats up to 27/28C inside. So let’s call the temperature delta about 10C. Under full load this system consumes about 400W of power, meaning the water cooling set-up has to dissipate 400W of heat. Which for a single radiator I think is pretty good.
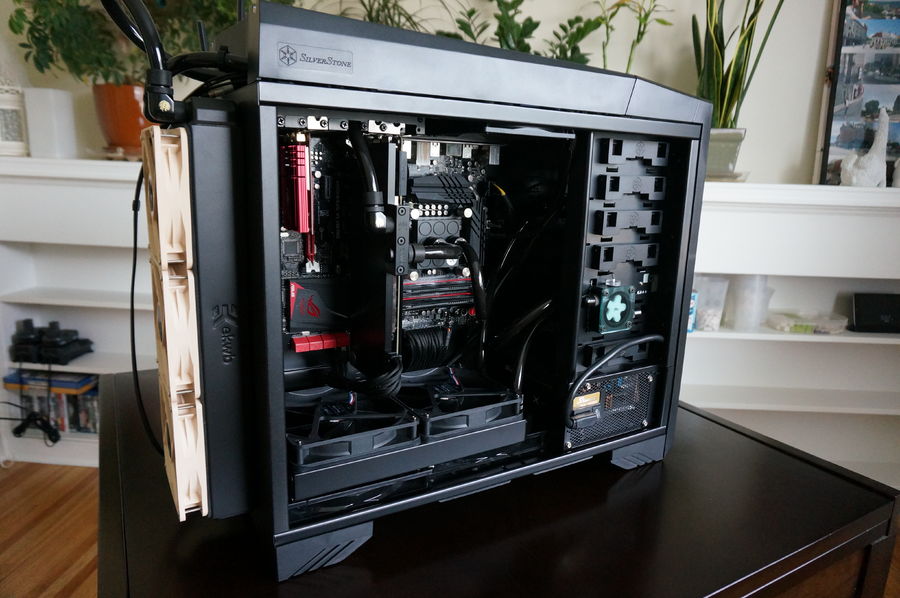
And this brings us up to the PC’s most current configuration.
I’ll go into more detail about it in an upcoming post.
